この記事では、Pythonを使ってデスクトップ通知を送る方法を紹介します。
必要なもののインストール#
まず、pipでnotify2をインストールします。
1
2
3
4
5
| $ pip install notify2
Collecting notify2
Downloading notify2-0.3.1-py2.py3-none-any.whl
Installing collected packages: notify2
Successfully installed notify2-0.3.1
|
コーディング#
まず、notify2をインポートします。
次に、d-bus接続を初期化します。
D-Busは、アプリケーション同士が通信するためのメッセージバスシステムです。
1
2
| # d-bus接続の初期化
notify2.init("hello")
|
次に、Notificationオブジェクトを作成します。
最もシンプルな方法は以下の通りです。
1
| n = notify2.Notification(None)
|
また、通知にアイコンを追加することもできます。
1
| n = notify2.Notification(None, icon = "/home/wenshi/Pictures/me.jpg")
|
次に、通知の緊急度レベルを設定します。
1
| n.set_urgency(notify2.URGENCY_NORMAL)
|
他にも利用できるオプションは以下の通りです。
1
2
3
| notify2.URGENCY_LOW
notify2.URGENCY_NORMAL
notify2.URGENCY_CRITICAL
|
次に、通知が表示される時間を設定できます。
set_timeoutでミリ秒単位で指定します。
次に、通知のタイトルと本文を設定します。
1
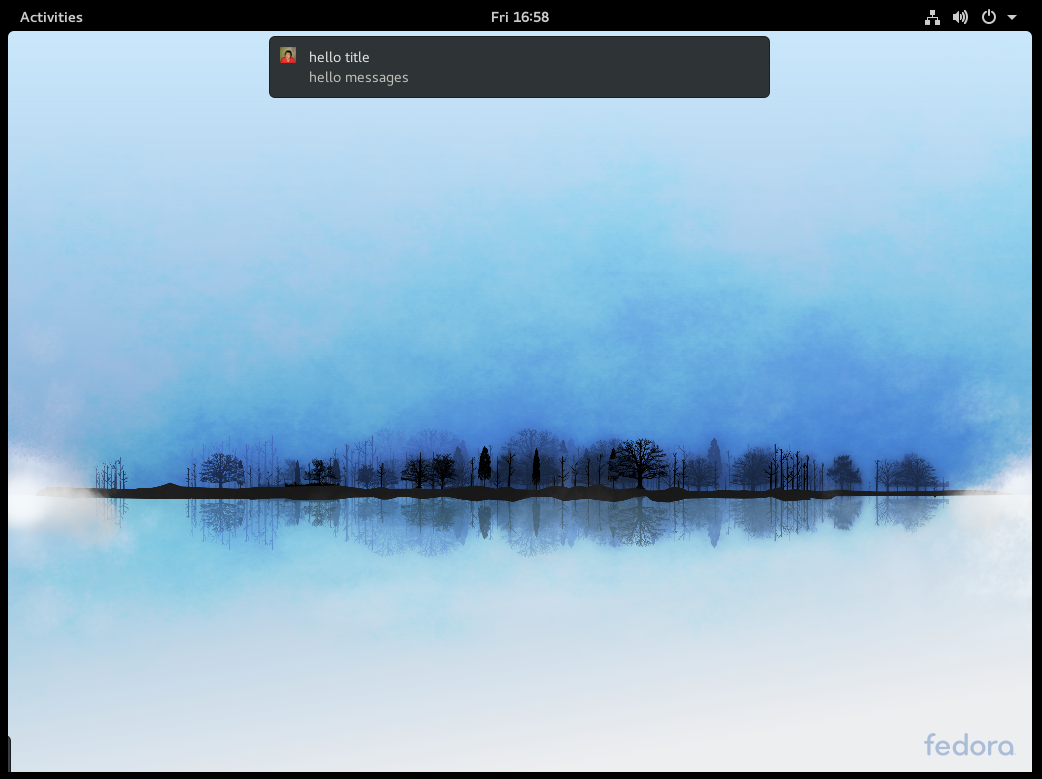
| n.update("hello title", "hello messages")
|
通知はshowメソッドで画面に表示されます。
実際にやってみる#
1
2
3
4
5
6
7
8
9
10
11
12
13
14
15
16
17
18
19
| import notify2
# d-bus接続の初期化
notify2.init("hello")
# Notificationオブジェクトの作成
n = notify2.Notification(None, icon = "/path/to/your/image")
# 緊急度レベルの設定
n.set_urgency(notify2.URGENCY_NORMAL)
# 通知の表示時間を設定
n.set_timeout(5000)
# タイトルと本文を設定
n.update("hello title", "hello messages")
# 通知を画面に表示
n.show()
|
これで画面に通知が表示されます。
