Vundle 是一个流行的 Vim 插件管理工具,本文记录其使用方法。
官网:[https://github.com/VundleVim/Vundle.vim]
使用 Vundle 的优点
- 可以通过
.vimrc 安装/更新/删除插件 - 只需写插件名即可自动查找
只需执行以下命令复制文件即可完成安装:
1
| git clone https://github.com/VundleVim/Vundle.vim.git ~/.vim/bundle/Vundle.vim
|
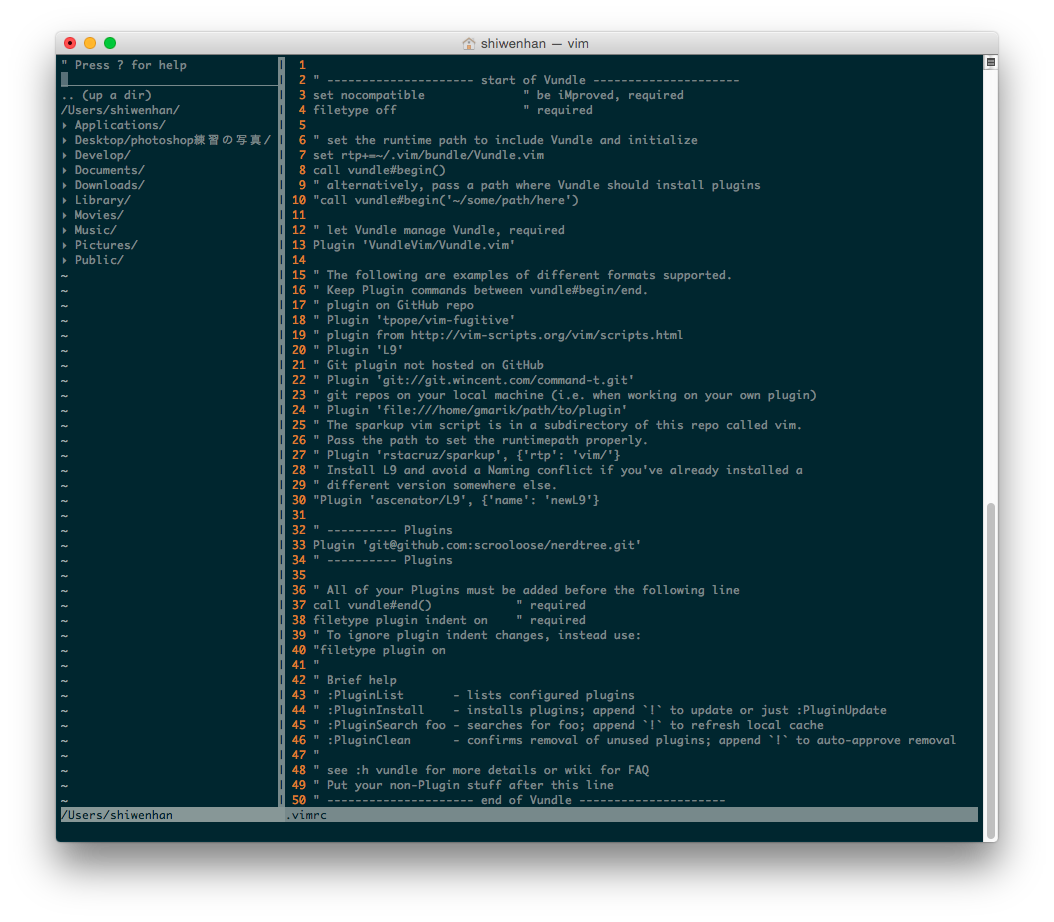
将以下内容添加到 .vimrc 文件的顶部。
部分行仅为说明用途,实际使用时请根据需要注释掉。
 1
 2
 3
 4
 5
 6
 7
 8
 9
10
11
12
13
14
15
16
17
18
19
20
21
22
23
24
25
26
27
28
29
30
31
32
33
34
35
36
37
38
39
40
41
42
43
| set nocompatible " be iMproved, required
filetype off " required
" set the runtime path to include Vundle and initialize
set rtp+=~/.vim/bundle/Vundle.vim
call vundle#begin()
" alternatively, pass a path where Vundle should install plugins
"call vundle#begin('~/some/path/here')
" let Vundle manage Vundle, required
Plugin 'VundleVim/Vundle.vim'
" The following are examples of different formats supported.
" Keep Plugin commands between vundle#begin/end.
" plugin on GitHub repo
"Plugin 'tpope/vim-fugitive' <- 此处请注释
" plugin from http://vim-scripts.org/vim/scripts.html
"Plugin 'L9' <- 此处请注释
" Git plugin not hosted on GitHub
"Plugin 'git://git.wincent.com/command-t.git' <- 此处请注释
" git repos on your local machine (i.e. when working on your own plugin)
"Plugin 'file:///home/gmarik/path/to/plugin' <- 此处请注释
" The sparkup vim script is in a subdirectory of this repo called vim.
" Pass the path to set the runtimepath properly.
"Plugin 'rstacruz/sparkup', {'rtp': 'vim/'} <- 此处请注释
" Install L9 and avoid a Naming conflict if you've already installed a
" different version somewhere else.
"Plugin 'ascenator/L9', {'name': 'newL9'} <- 此处请注释
" All of your Plugins must be added before the following line
call vundle#end() " required
filetype plugin indent on " required
" To ignore plugin indent changes, instead use:
"filetype plugin on
"
" Brief help
" :PluginList - lists configured plugins
" :PluginInstall - installs plugins; append `!` to update or just :PluginUpdate
" :PluginSearch foo - searches for foo; append `!` to refresh local cache
" :PluginClean - confirms removal of unused plugins; append `!` to auto-approve removal
"
" see :h vundle for more details or wiki for FAQ
" Put your non-Plugin stuff after this line
|
安装 Vim 插件#
以文件管理器插件 “NERDTree” 为例,在 call vundle#end() 之前添加 NERDTree 的 git 链接。
1
2
3
4
5
6
| ...省略
Plugin '[email protected]:scrooloose/nerdtree.git'
" All of your Plugins must be added before the following line
call vundle#end() " required
...省略
|
启动 Vim 并执行 :PluginInstall。
也可以在命令行执行 vim +PluginInstall +qall。
此时屏幕上会显示如下日志:
1
2
3
4
| " Installing plugins to /Users/shiwenhan/.vim/bundle
. Plugin 'VundleVim/Vundle.vim'
. Plugin '[email protected]:scrooloose/nerdtree.git'
* Helptags
|
按下 l 键可查看日志
 1
 2
 3
 4
 5
 6
 7
 8
 9
10
| [2016-11-21 00:56:51]
[2016-11-21 00:56:51] Plugin [email protected]:scrooloose/nerdtree.git
[2016-11-21 00:56:51] $ git clone --recursive '[email protected]:scrooloose/nerdtree.git' '/Users/shiwenhan/.vim/bundle/nerdtree'
[2016-11-21 00:56:51] > Cloning into '/Users/shiwenhan/.vim/bundle/nerdtree'...
[2016-11-21 00:56:51] >
[2016-11-21 00:56:51]
[2016-11-21 00:56:51] Helptags:
[2016-11-21 00:56:51] :helptags /Users/shiwenhan/.vim/bundle/Vundle.vim/doc
[2016-11-21 00:56:51] :helptags /Users/shiwenhan/.vim/bundle/nerdtree/doc
[2016-11-21 00:56:51] Helptags: 2 plugins processed
|
插件安装完成。
重启 Vim 并执行 :NERDTreeToggle 检查插件。
这样就完成了!