本文介绍如何使用 Python 发送桌面通知。
安装依赖#
我们需要用 pip 安装 notify2。
1
2
3
4
5
| $ pip install notify2
Collecting notify2
Downloading notify2-0.3.1-py2.py3-none-any.whl
Installing collected packages: notify2
Successfully installed notify2-0.3.1
|
编码实现#
首先需要导入 notify2。
然后需要初始化 d-bus 连接。
D-Bus 是一个消息总线系统,是应用程序之间通信的简单方式。
1
2
| # 初始化 d-bus 连接
notify2.init("hello")
|
接下来需要创建一个 Notification 对象。
最简单的方式如下:
1
| n = notify2.Notification(None)
|
你也可以为通知添加一个图标。
1
| n = notify2.Notification(None, icon = "/home/wenshi/Pictures/me.jpg")
|
然后,设置通知的紧急级别。
1
| n.set_urgency(notify2.URGENCY_NORMAL)
|
其他可用的选项有:
1
2
3
| notify2.URGENCY_LOW
notify2.URGENCY_NORMAL
notify2.URGENCY_CRITICAL
|
接下来,你可以决定通知显示的时长。
使用 set_timeout 方法,单位为毫秒。
然后,填写通知的标题和正文内容。
1
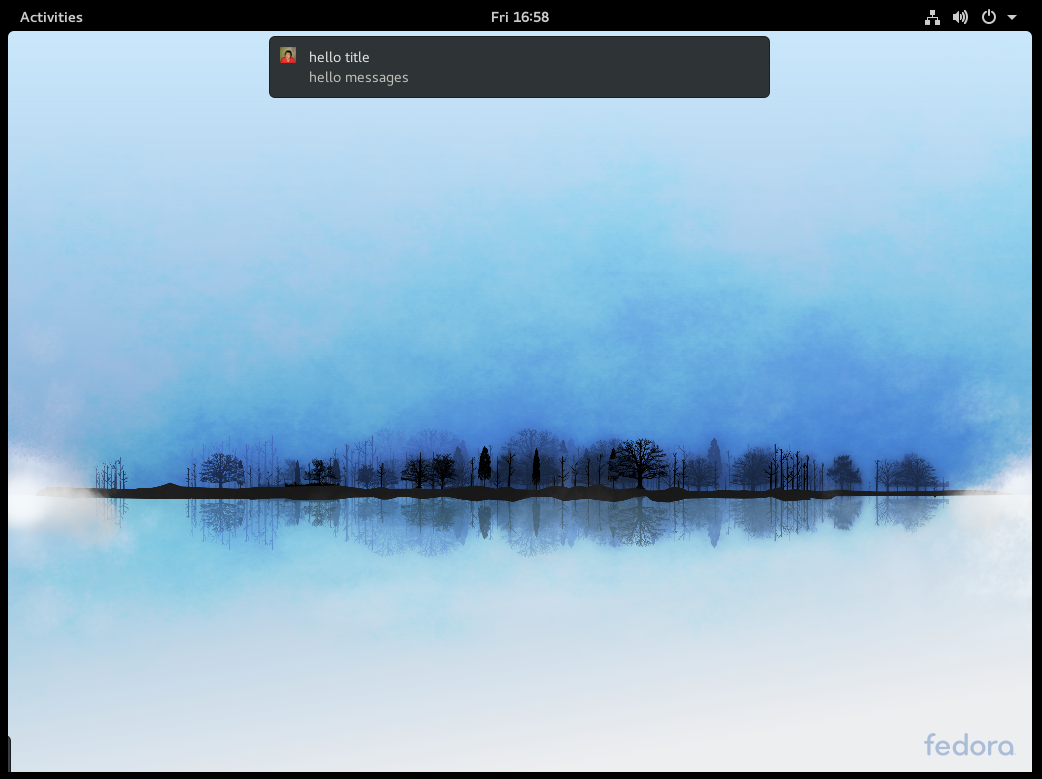
| n.update("hello title", "hello messages")
|
通过 show 方法,通知会显示在屏幕上。
试试看#
1
2
3
4
5
6
7
8
9
10
11
12
13
14
15
16
17
18
19
| import notify2
# 初始化 d-bus 连接
notify2.init("hello")
# 创建 Notification 对象
n = notify2.Notification(None, icon = "/path/to/your/image")
# 设置紧急级别
n.set_urgency(notify2.URGENCY_NORMAL)
# 设置通知显示时长
n.set_timeout(5000)
# 设置通知标题和内容
n.update("hello title", "hello messages")
# 显示通知
n.show()
|
这样你就能在屏幕上看到通知了。
