[OpenShift]Install OpenShift and Create first project Hello-OpenShift
 times read
Contents
Install Linux OS and confirm network setting.
You need to create a Linux OS machine to install OpenShift. The minimum requirement is
| CPU | Memory | hard disk | Network |
|---|---|---|---|
| x86_64 1 core | 2 GB | 20 GB | IPv4 |
First you need to install CentOS 7.3, by select minimum setup. After you finish the installation, check your IP address to make sure you have available IP to use. The following example shows the IP address at eth0 is “192.168.122.45”
|
|
OpenShift need a hostname to provide the service. Use “hostnamectl set-hostname” to set a hostname. And use “hostname” to confirm your setting. The following example show the hostname is “openshift.example.com”
|
|
Install docker
Openshift use docker as a container engine. Install docker by following command.
|
|
After the installation is done, start the docker service and enable it.
|
|
Test under command to check if docker can fetch data from internet. The following example show how to create a “hello-openshift” container. This little app was a go program and will listen 8080 and 8888 port. (Run command for the first time will take some time because no image is existed locally, docker need to pull it from the internet.)
|
|
After the test, push “Ctrl+c” to stop this image.
Install OpenShift
There are several methods to install OpenShift. For better understand we will download the binaries of OpenShift server and deploy it manually. You can find the download link at Download OpenShift Origin. For now the latest version is v1.5.1-7b451fc-linux-64bit.tar.gz.
Download the file and untar it to /opt/
|
|
Add Openshift path to $PATH by add following text to the end of /etc/profile.
1
|
PATH=$PATH:/opt/openshift |
Run source command to make the configuration enable,
|
|
After this we can check if the shell can find the command of openshift. Try following command to check the version. From the output we can see the version of Openshift is 1.5.1, Kubernetes is 1.5.2, and etcd is 3.1.0.
|
|
Start OpenShift
Just type “openshift start” to start openshift. There will be a lot of logs output in the terminal. OpenShift will started when the logs output is stopped.
|
|
Access OpenShift
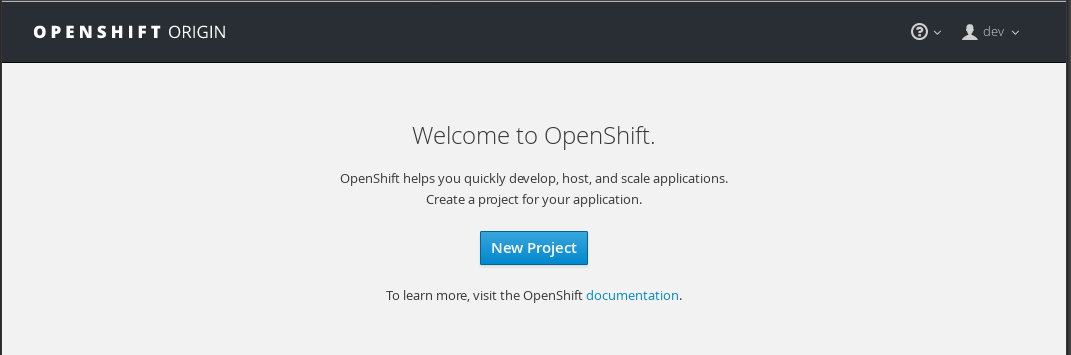
Open web control UI and login
Type “https://

Create a new project
Click “New Project”
For the first test project, input the Name, Display Name and Description and click “Create”.

At the next screen, click “Deploy Image” and select “Image Name”. Input the
image name as “openshift/hello-openshift” and click the “find” icon at right to
find images.

After a while(depends on your network speed), the image will be downloaded,
click “Create” at the end of the page to create a pod.

OpenShift will start to deploy the pod, at first you will see a gray circle with a
number “1” in it. When the deployment is done, the circle will turn to blue,
it mean the pod is ready to use.


Click the circle to see the detail information of your pods. You can find an “IP”
is attached to the pod. Following example shows the IP address of the pod is “172.17.0.3”.

Back to the OpenShift server and run under command to check the hello-openshift container. The hello-openshift service will return a string “Hello OpenShift!” to each request from the 8080 or 8888 port.
|
|
Above is a simple test of how to install Openshift and create a project/pod. The IP will not be accessible outside the OpenShift server because it’s only a local IP address. To deploy a real useful pod and provide it, you need to do more settings. I will update it in the further. #TODO
Author Wenhan Shi
LastMod 2020-03-26 (02c19e3)